OCR基本上算是一个日常比较实用的工具了,本文基于开源OCR引擎tesseract以及gnome-screenshot,在Linux下创建自己的OCR工具;
资源下载:
<br/>
<!--more-->在进行OCR时的思路如下:
<br/>
tesseract是一个开源的OCR引擎,最初是由惠普公司开发用来作为其平板扫描仪的OCR引擎,2005年惠普将其开源出来,之后google接手负责维护;
目前稳定的版本是4.0(当然也已经出现了5.0版本);
4.0版本加入了基于LSTM的神经网络技术,中文字符识别准确率有所提高;
tesseract的GitHub官方地址:
这里以Ubuntu为例,安装tesseract只需要几个步骤:
# 添加源
sudo add-apt-repository ppa:alex-p/tesseract-ocr
# 更新源
sudo apt update
# 安装
sudo apt install tesseract-ocr
<font color="#f00">**此外,还需要安装中文词库:**</font>
tesseract支持60多种语言的识别不同,使用之前需要先下载对应语言的字库;
下载地址:
下载速度慢的朋友可以从我的分享下载(仅有简体中英文识别库):
<font color="#f00">**下载完成后需要将`*.traineddata`字库文件放到tessdata目录下,默认路径是`/usr/share/tesseract-ocr/4.00/tessdata`;**</font>
eng.traineddata是英文识别库;
chi_*.traineddata是中文识别库;
<br/>
这3个不需要添加源,直接终端输入代码:
sudo apt install gnome-screenshot
sudo apt install xclip
sudo apt install imagemagick
<br/>
将以下代码复制到文档,并将后缀改成 .sh 并增加运行权限 sudo chmod a+x *.sh;
<font color="#f00">**注意:将变量SCR路径部分替换成你想要存放截图以及识别结果txt文档的路径;**</font>
#!/bin/env bash
# Dependencies: tesseract-ocr imagemagick gnome-screenshot xclip

#Name: OCR Picture
#Fuction: take a screenshot and OCR the letters in the picture
#Path: /home/Username/...

#you can only scan one character at a time
SCR="/home/{Username}/Documents/temp"

# take a shot what you wana to OCR to text
gnome-screenshot -a -f $SCR.png

# increase the png
mogrify -modulate 100,0 -resize 400% $SCR.png
# should increase detection rate

# OCR by tesseract
tesseract $SCR.png $SCR &> /dev/null -l eng+chi1

# get the text and copy to clipboard
cat $SCR.txt | xclip -selection clipboard

exit
<br/>
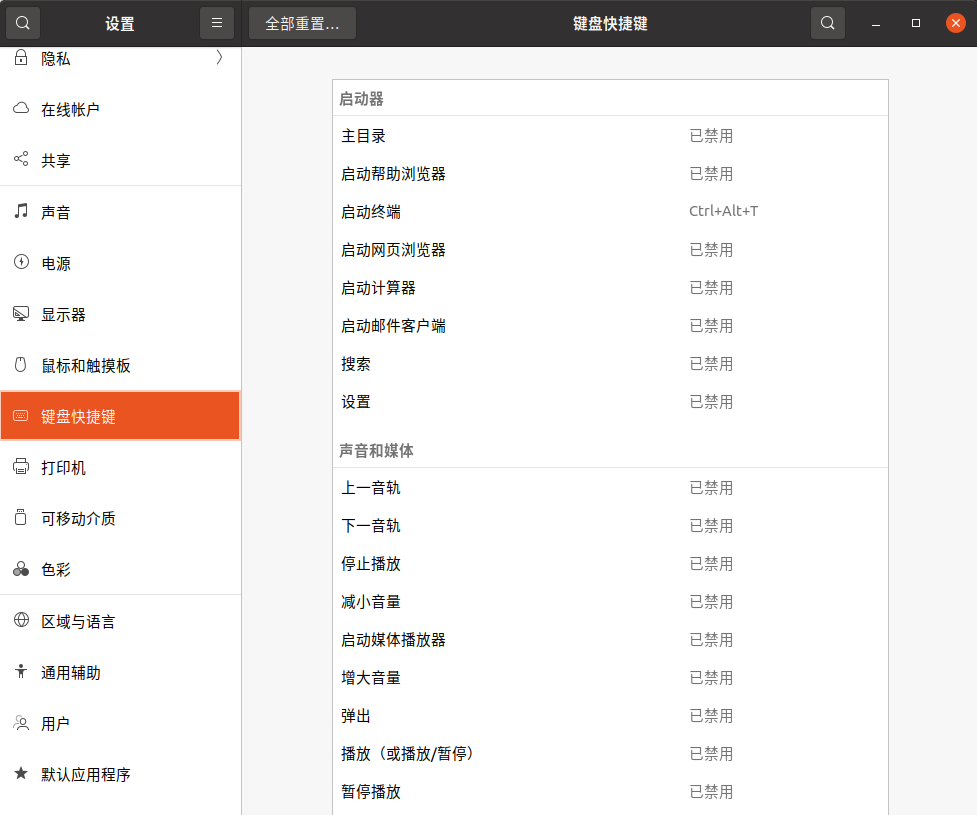
为了方便使用,本小结为ocr创建键盘快捷键;
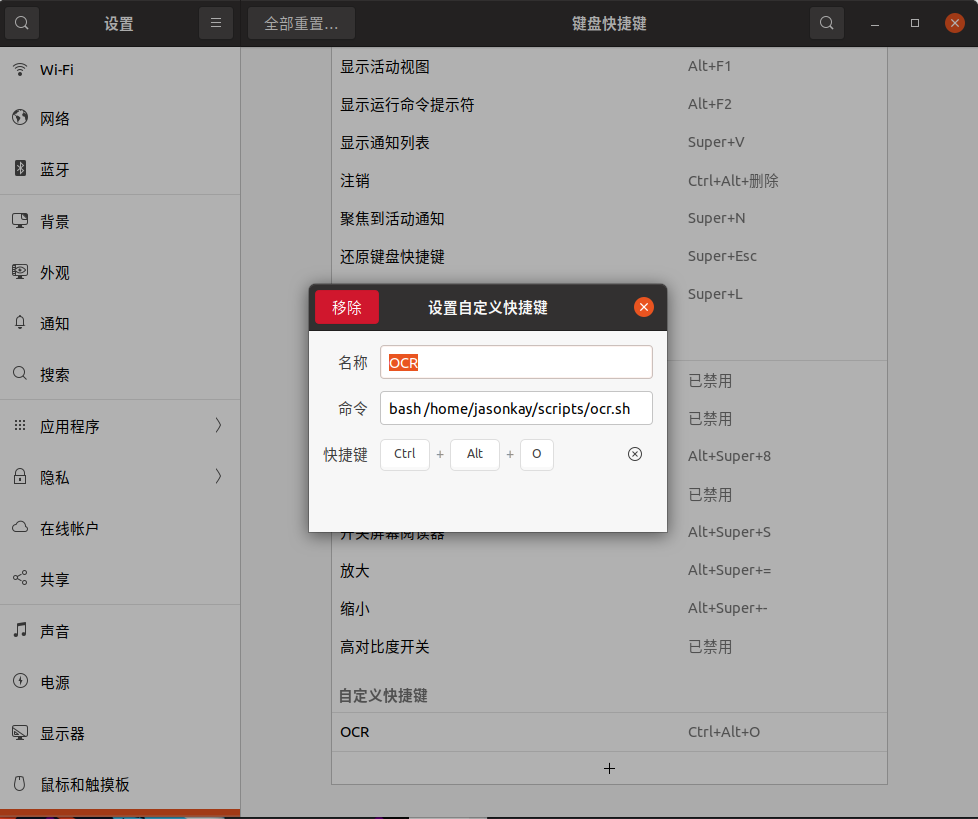
打开系统设置,拉到底部,点击+;

创建快捷键:
<font color="#f00">**注意bash后面有一个空格!**</font>

<br/>
直接使用快捷键即可进入截屏模式;
截取想要识别的文字区域,等待片刻后便可在指定目录生成temp.png和temp.txt文件;
同时,文字会自动复制到剪切板,可以直接粘贴使用;
Enjoy!
<br/>
资源下载:
参考视频:
<br/>